Difference between revisions of "Uploading Translation Files"
Jump to navigation
Jump to search
| Line 24: | Line 24: | ||
| − | * Copy the path for the folder you created in figure 1, and paste it into the “Enter Mod Folder” window, then click “Continue” (figure 6). | + | * Copy the root path for the folder you created in figure 1 (MyEpicMod), and paste it into the “Enter Mod Folder” window, then click “Continue” (figure 6). |
[[File:creator_upload_6.jpg|800px|frame|none|border|figure 6]] | [[File:creator_upload_6.jpg|800px|frame|none|border|figure 6]] | ||
Latest revision as of 01:32, 2 April 2019
Uploading Translation Files
If you are ready to upload your translation file to the Steam workshop for others to use, follow the steps below.
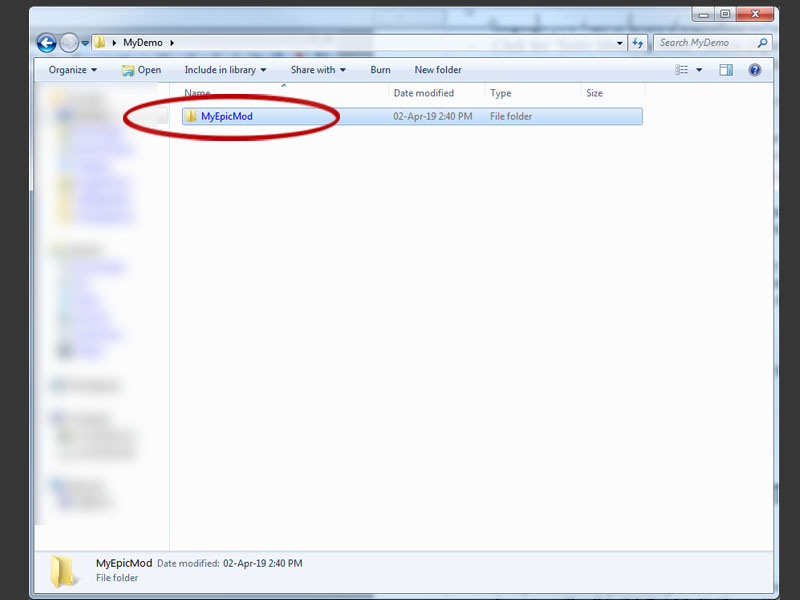
- In any location on your computer, create a new folder and call it whatever you like (in this demo we will call it “MyEpicMod” (figure 1)).

figure 1
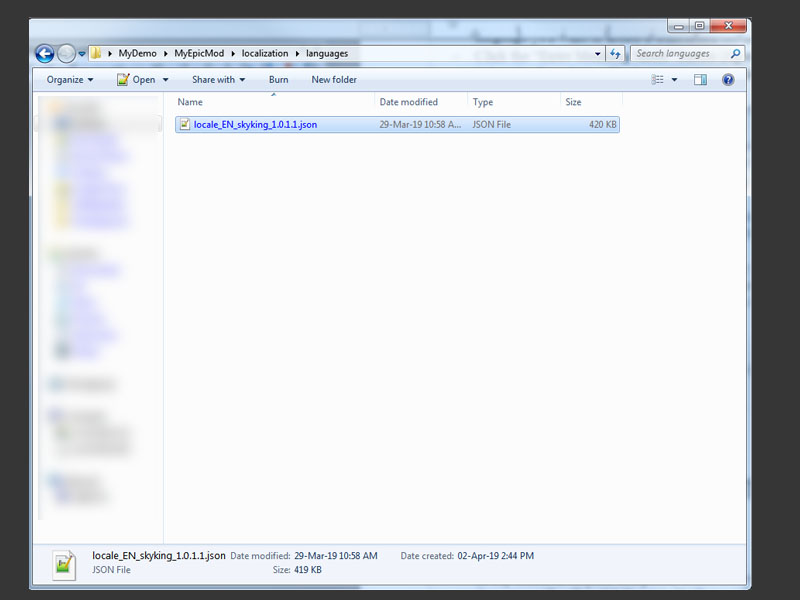
- Inside the “MyEpicMod” folder, create a new folder called “localization”, and inside the “localization” folder, create another folder called “languages” (folder structure should be like figure 2). Locate the Translation file that you want to upload and copy it into the “languages” folder you just created (use figure 2 for reference).

figure 2
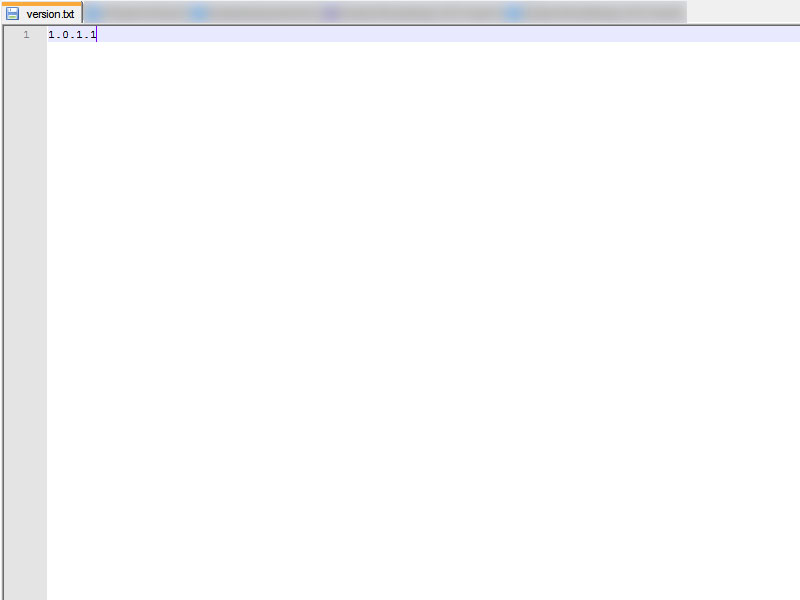
- Navigate to the root folder (MyEpicMod), and create a new text file called “version.txt”. In this 'version.txt' file, write the version number (figure 3).

figure 3
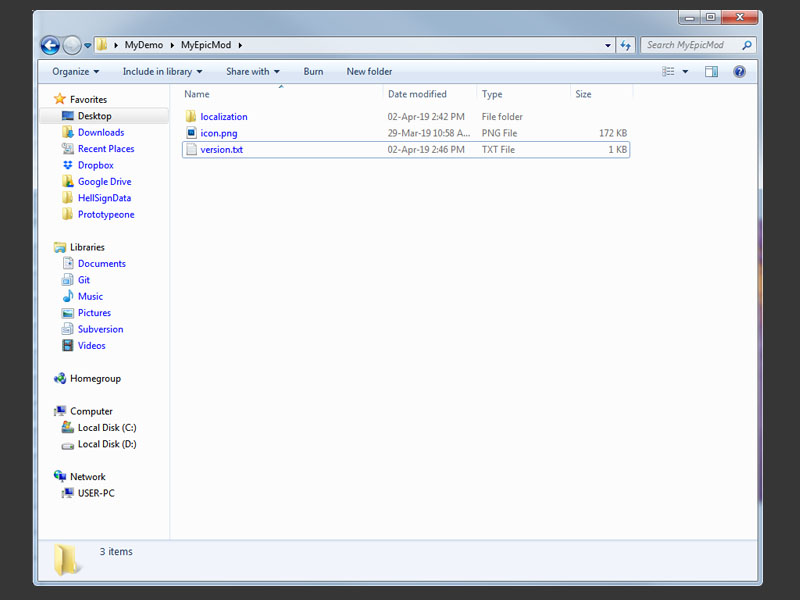
- Also in the root folder (MyEpicMod), create the icon that you want to display in the Steam workshop for your item, and call it “icon.png” (use figure 4 for reference of required folder contents).

figure 4
- Once the above steps are complete, launch HellSign.
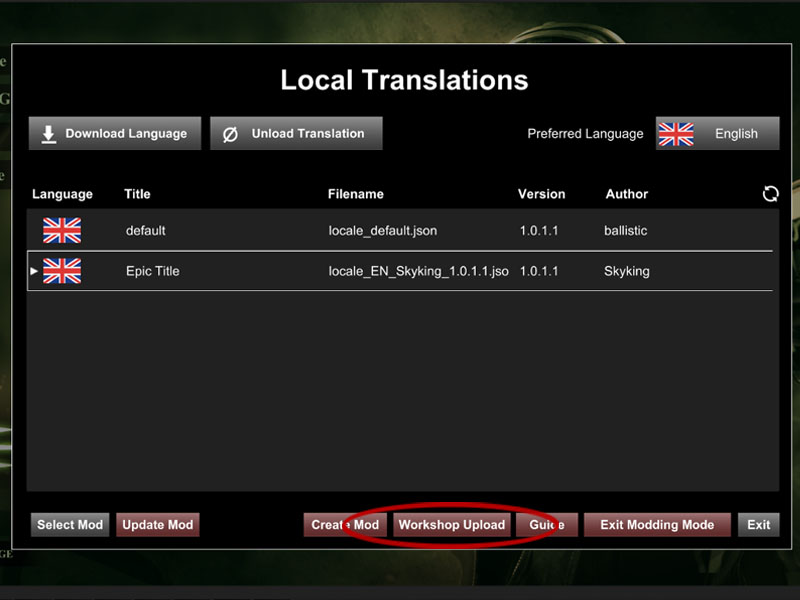
- Go to the Local Translations window and select “Workshop Upload” (figure 5).

figure 5
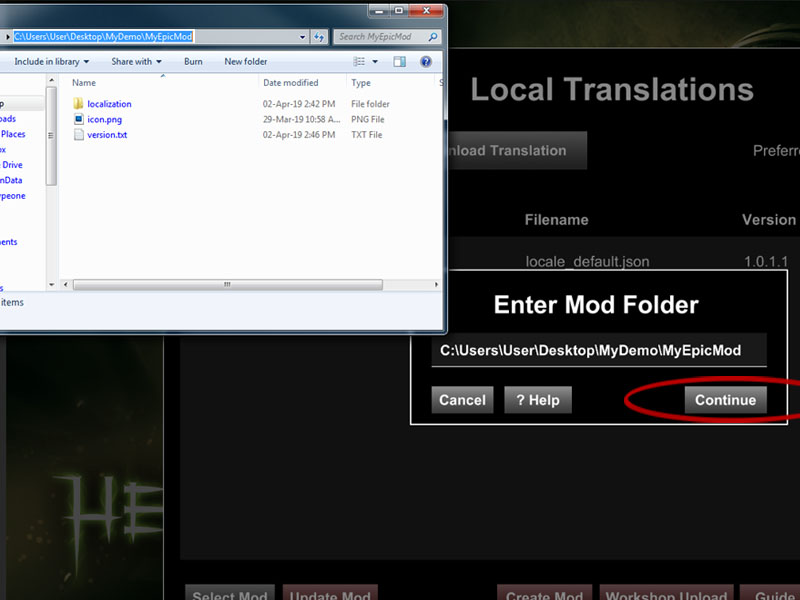
- Copy the root path for the folder you created in figure 1 (MyEpicMod), and paste it into the “Enter Mod Folder” window, then click “Continue” (figure 6).

figure 6
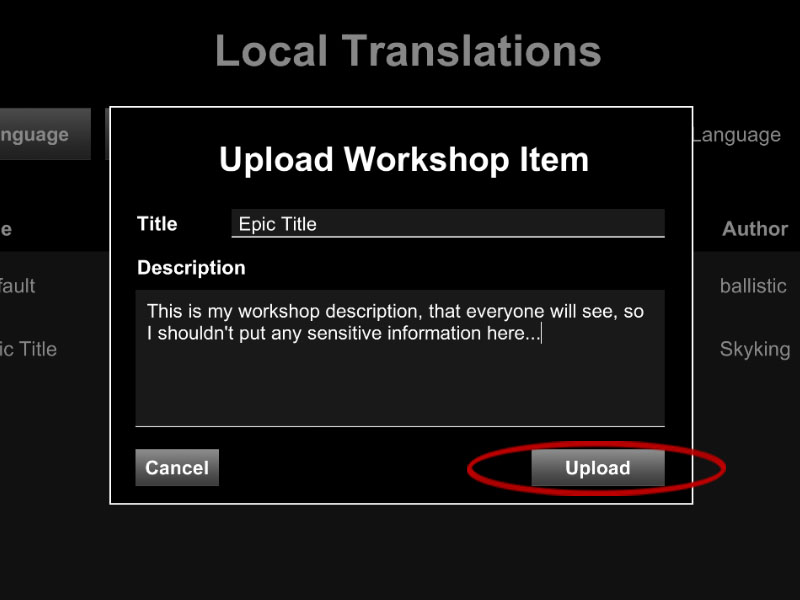
- Enter the Title and Description that you want to appear in the Steam workshop and click “Upload” (figure 7).

figure 7
Note, assuming the upload was successful, it may take some time for your new item to appear in the workshop, so be patient.
Back to Creator Guide