Working with Translation Files
Jump to navigation
Jump to search
Working with Translation Files
If you have created a translation file and are ready to start translating it, follow the steps below. If you have not yet created a Translation file, please refer to Creating Translation Files.
- Launch HellSign.
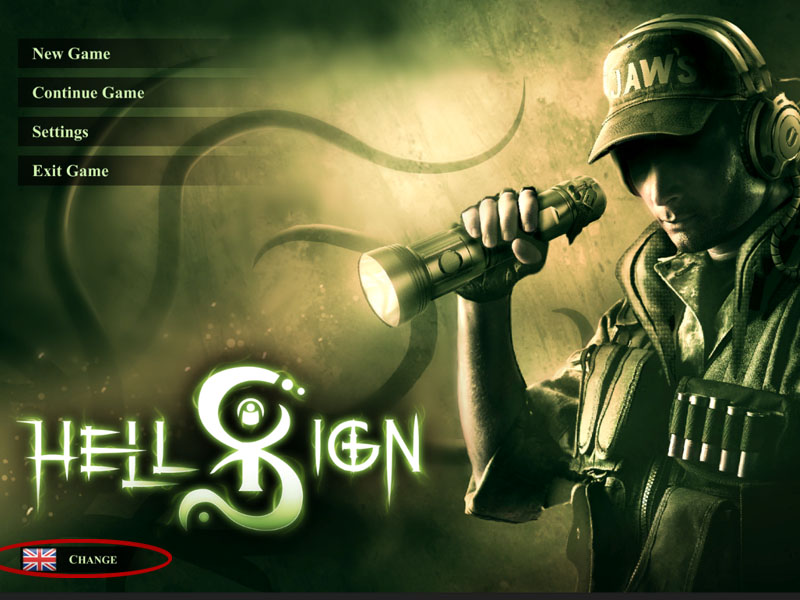
- In main menu screen you will see a language selector at the bottom left (figure 1), click this selector.
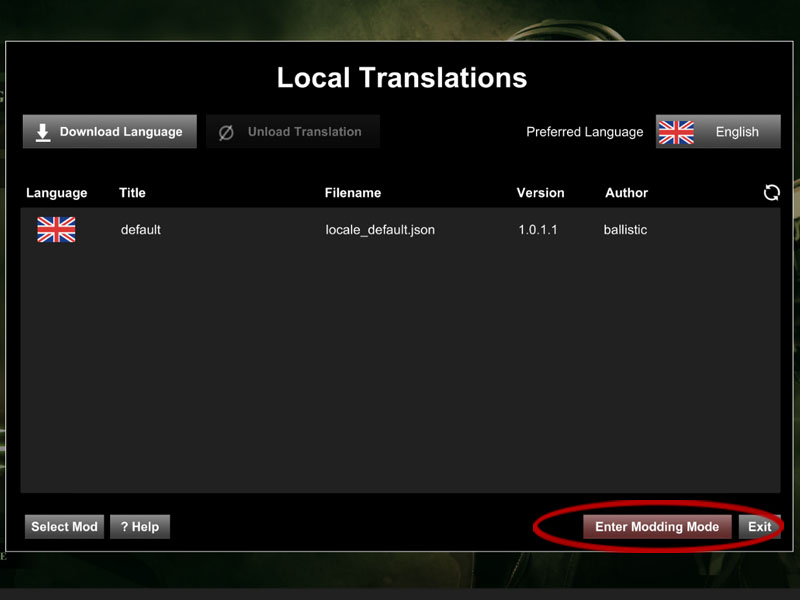
- A window will popup prompting you to select your desired language (figure 2), click the language you want the game to appear in (English in this demo).
- Click the “Enter Modding Mode” button (figure 3).
- Select the Translation file that you want to edit/test with (figure 4) and then exit the Local Translations window.
- In your file explorer, navigate to the directory that you downloaded the game to (see figure 5 for reference).
- You will find the created Translation file in the following directory (..\HellSign_Data\StreamingAssets\localization\languages\) (see figure 6).
- Open this file (locale_EN_skyking_v1.0.1.0.json in my case), and edit it as you see fit (changed the 'new game' menu button text in the example (figure 7)).
- Go back to HellSign and press the refresh button at the top right of the screen (figure 8), the “New Game” button should now show “Test New Game”.
Some tips:
- The refresh button will not work in every case, so if you change an entry in the Translation file and it isn't refreshing, try exiting and re-entering the menu. If this is still not working, you will have to unload and re-load the mod from the Local Translations window to see any updated entries.
- If you find the translated text does not fit correctly in the game space, you can manually use smaller font sizes in specific locations:
- If the example text value is "My text doesn't fit in the game space", you can manually size it by changing it to "<size=32>My text doesn't fit in the game space</size>" (see figure 9).
Continue to Uploading Translation Files
Back to Creator Guide


