User guide manual install
Jump to navigation
Jump to search

Manually Installing Translation Files
This is a guide detailing how to manually install a translation file (generally used when you can't access the steam workshop).
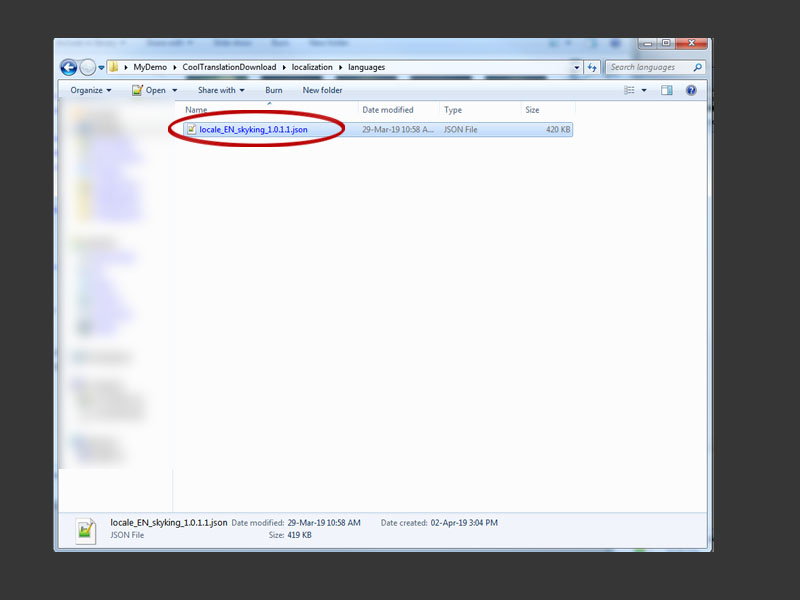
- Download the translation file that you want to install and use (figure 1).

figure 1
- Follow the instruction below to navigate to the HellSign root folder (where the HellSign.exe is).
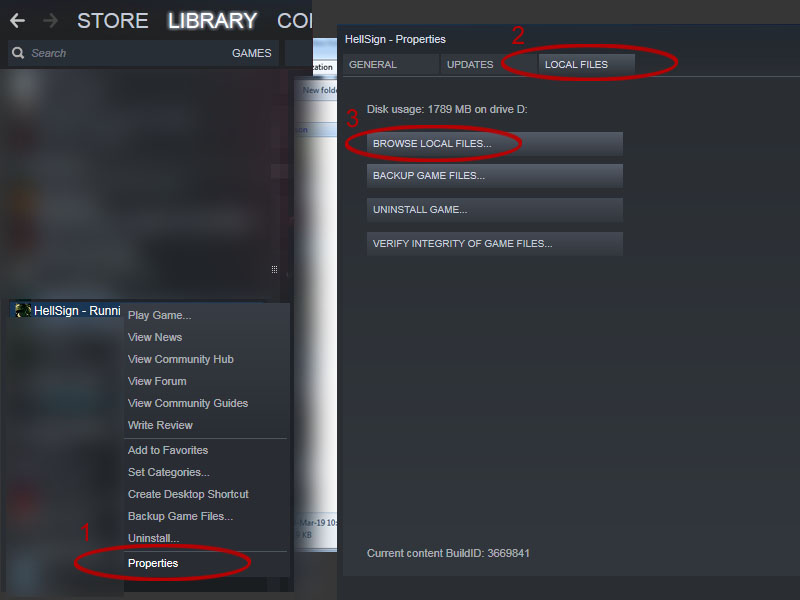
For steam users:
- Go to your steam Library and 1) right click HellSign from the games list, click 'Properties', 2) select the 'LOCAL FILES' tab, 3) click the 'BROWSE LOCAL FILES...' button (use figure 2 for reference). This will open the location of your game files (figure 3).

figure 2

figure 3
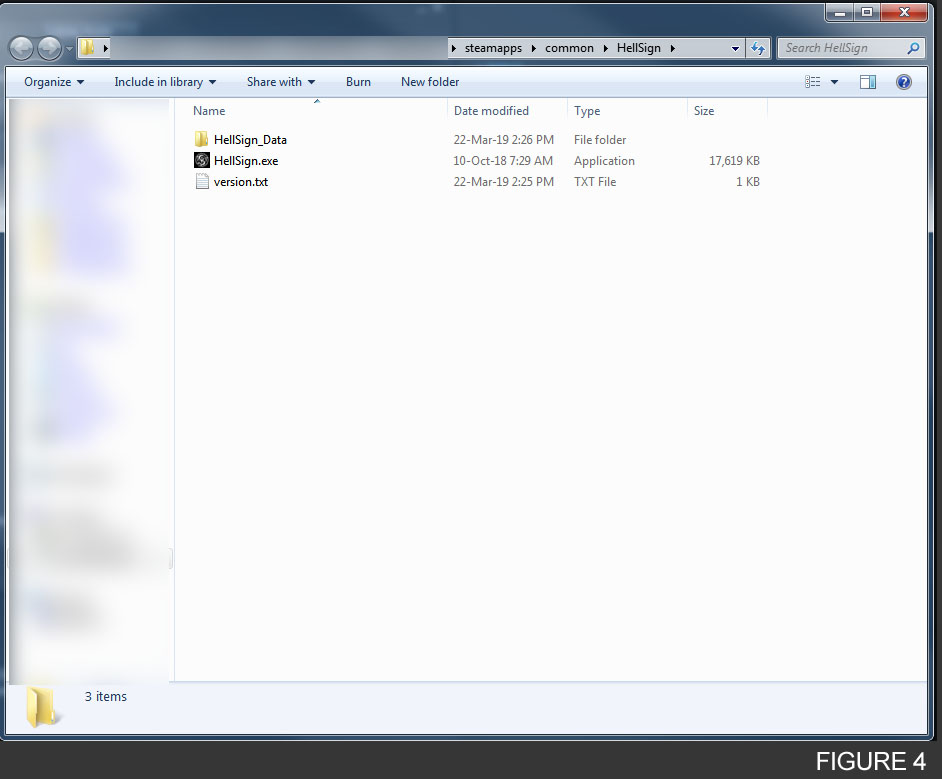
For non-steam users:
- Navigate to the HellSign root folder (where the HellSign.exe is (figure 3))
- Once you have located the HellSign root folder, copy the translation file (from figure 1), into the following location of your HellSign root folder (..HellSign\HellSign_Data\StreamingAssets\localization\languages\) (see figure 4).

figure 4
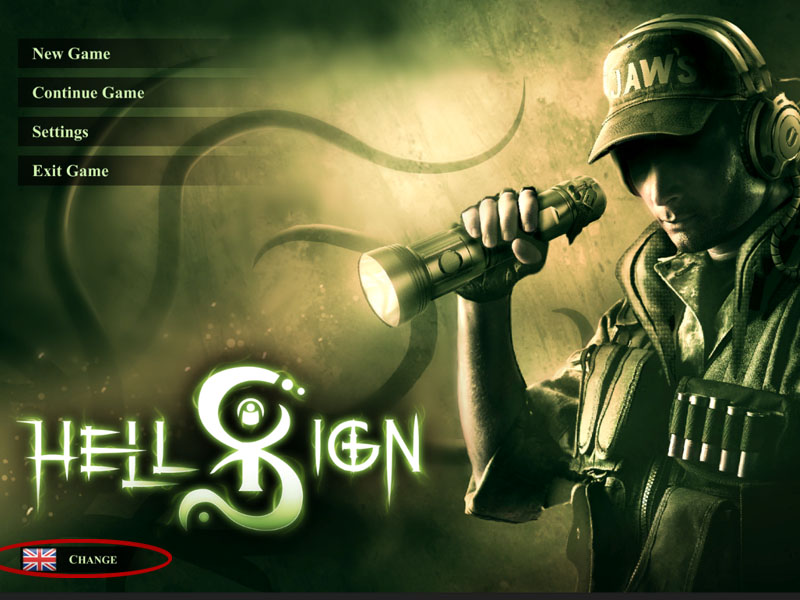
- Launch HellSign.
- In main menu screen you will see a language selector at the bottom left (figure 1), click this selector.

figure 1
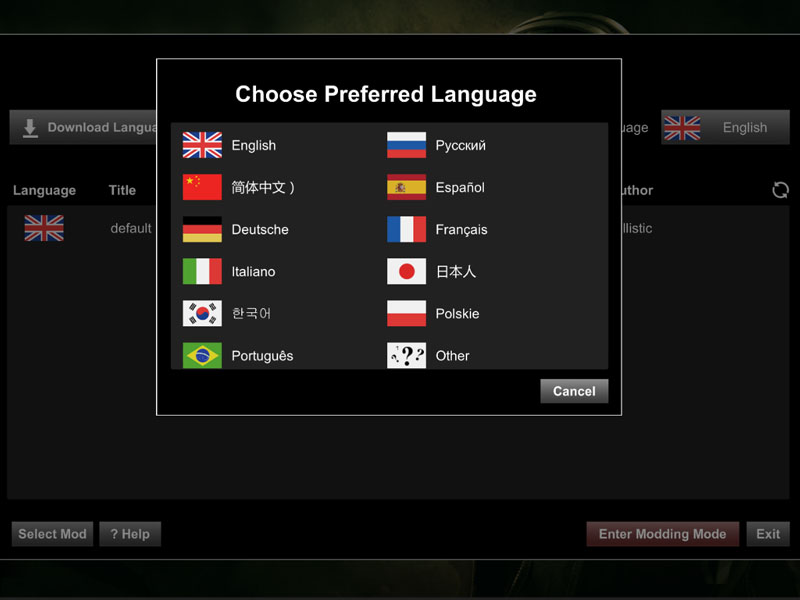
- A window will popup prompting you to select your desired language (figure 2), click the language you want the game to appear in (English in this demo).

figure 2
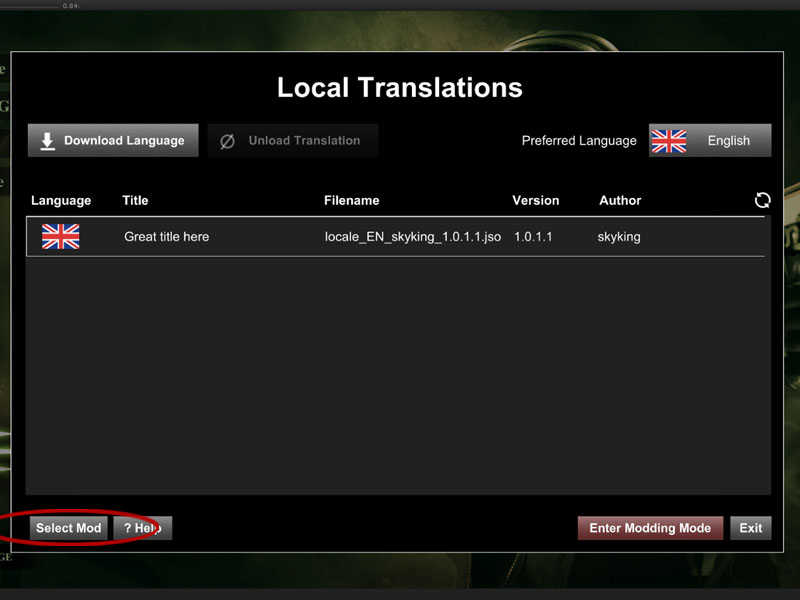
- Select the desired translation file and click 'Select Mod' (figure 5).

figure 5
- Enjoy HellSign in your desired language thanks to our amazing community translations!
Back to User Guide